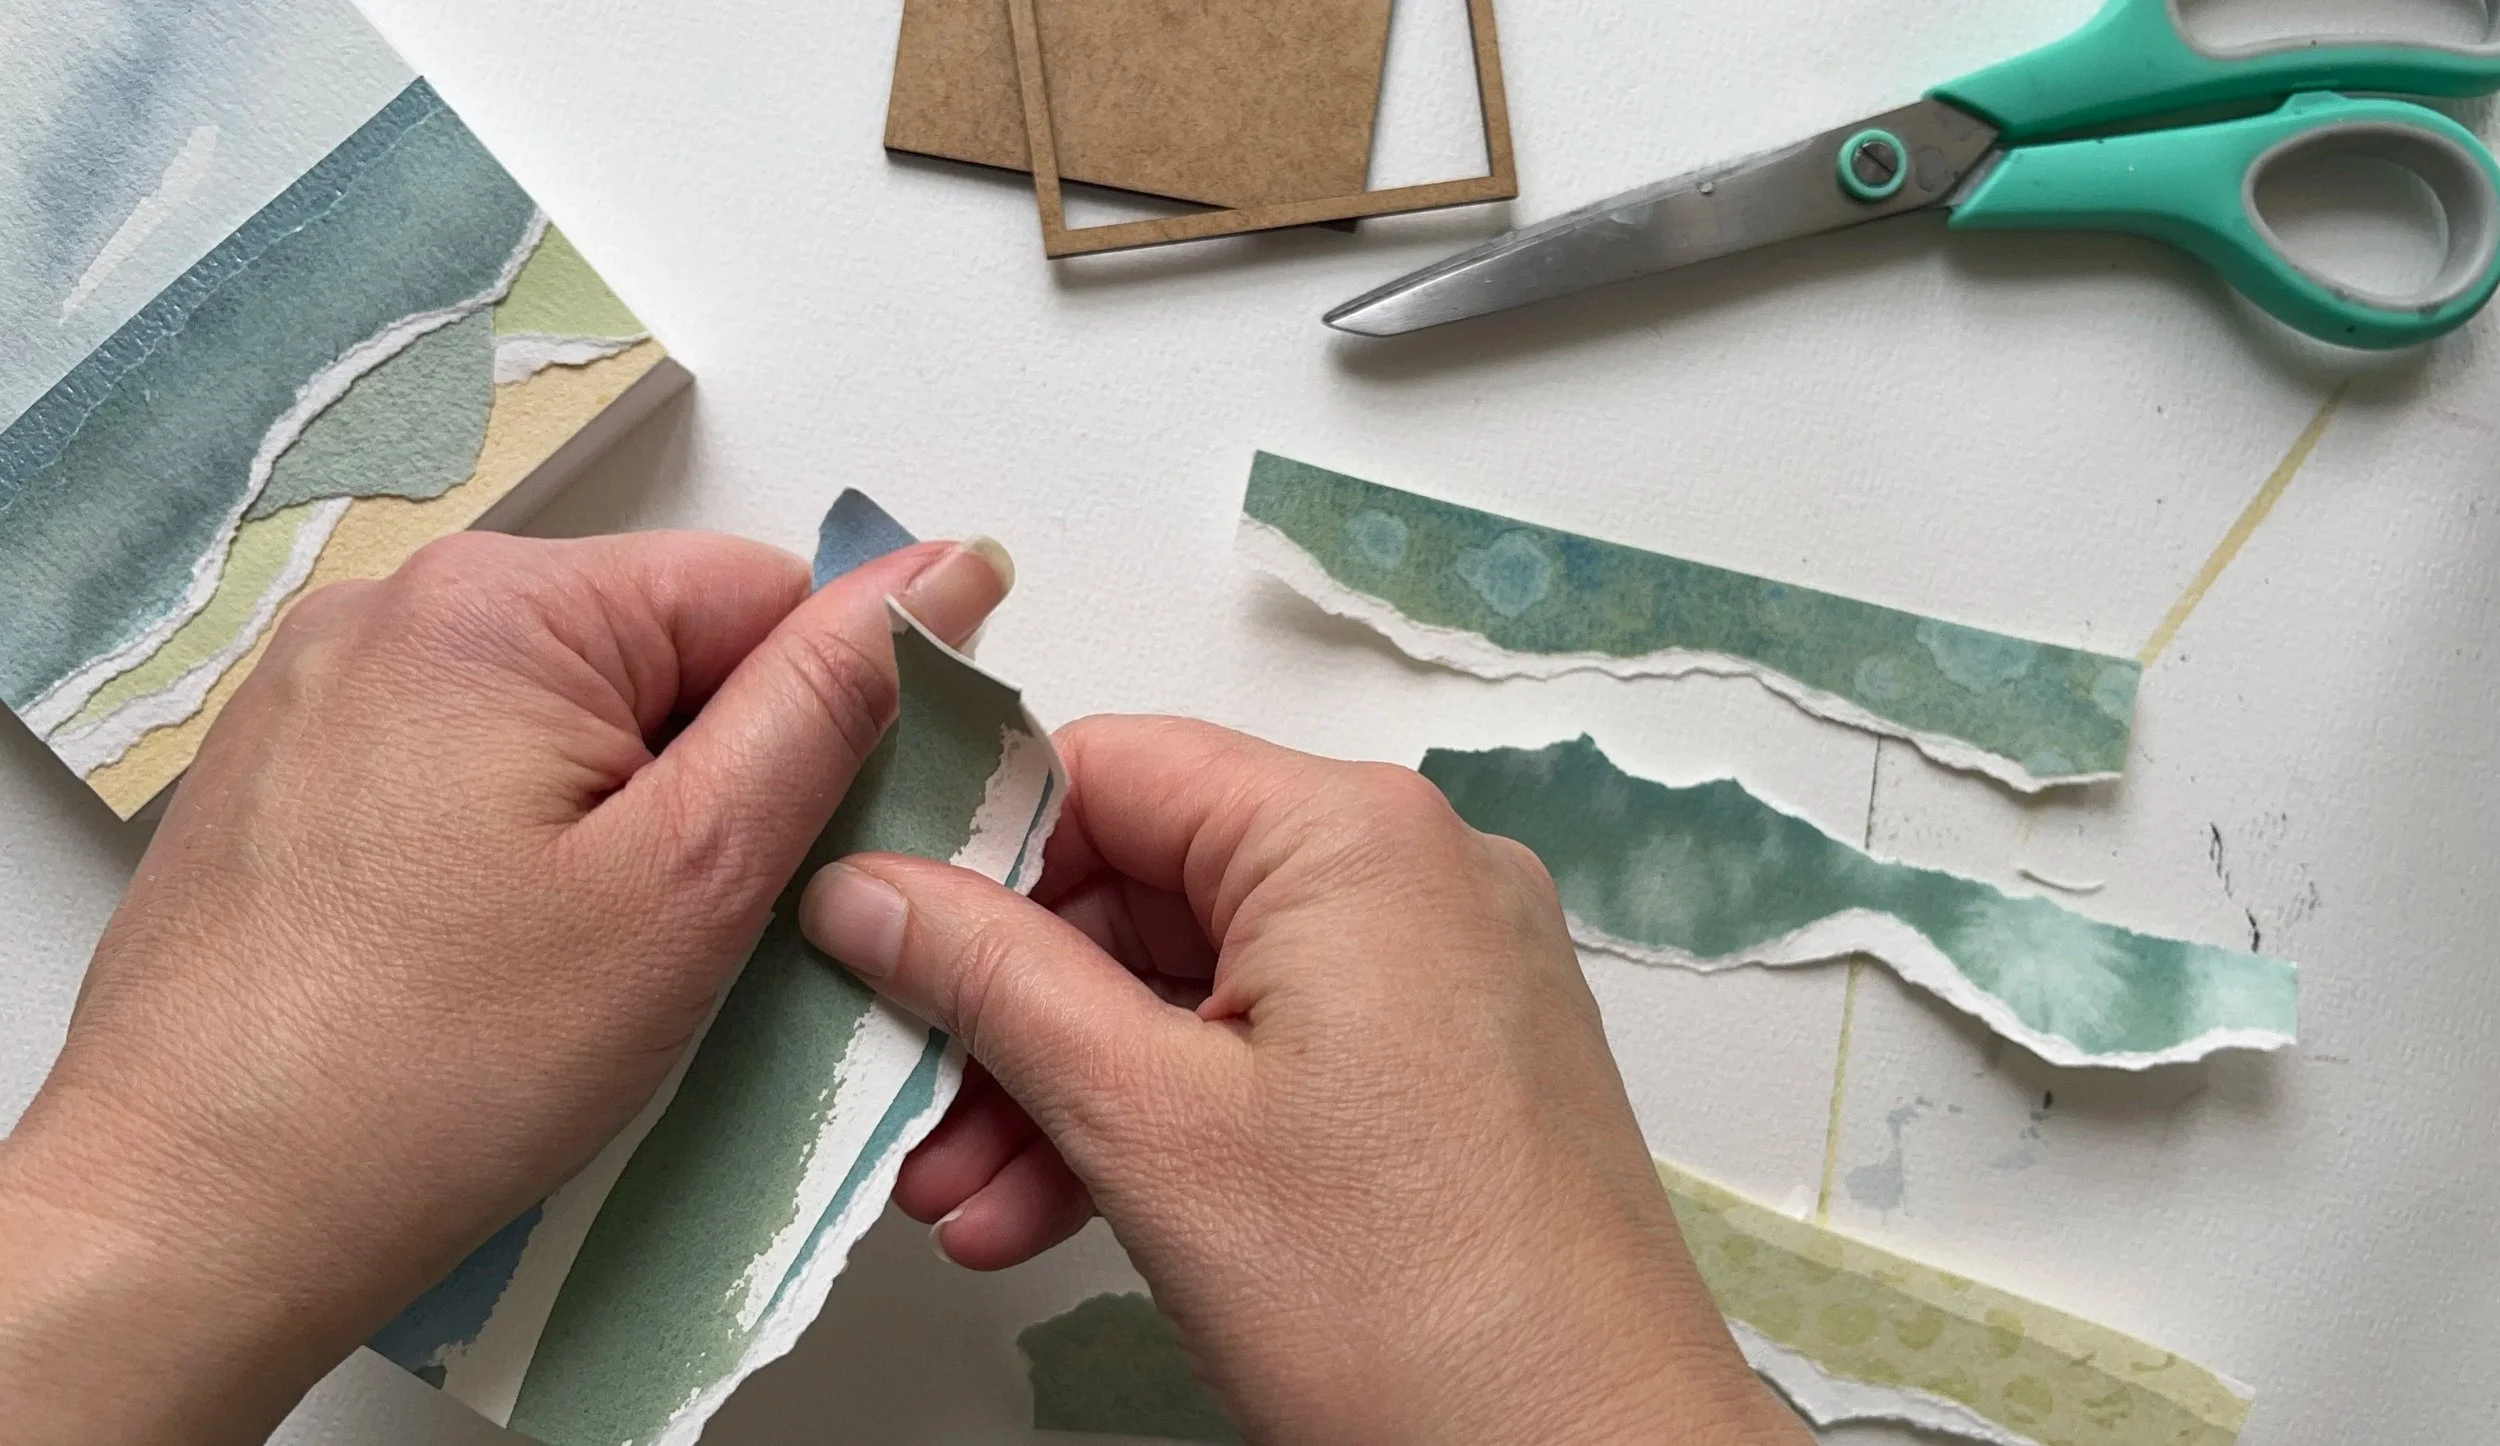
Learn the Joy of Torn Paper Landscapes
A step-by-step guide to painting, tearing, and layering rich, textured art — no fine art degree required.
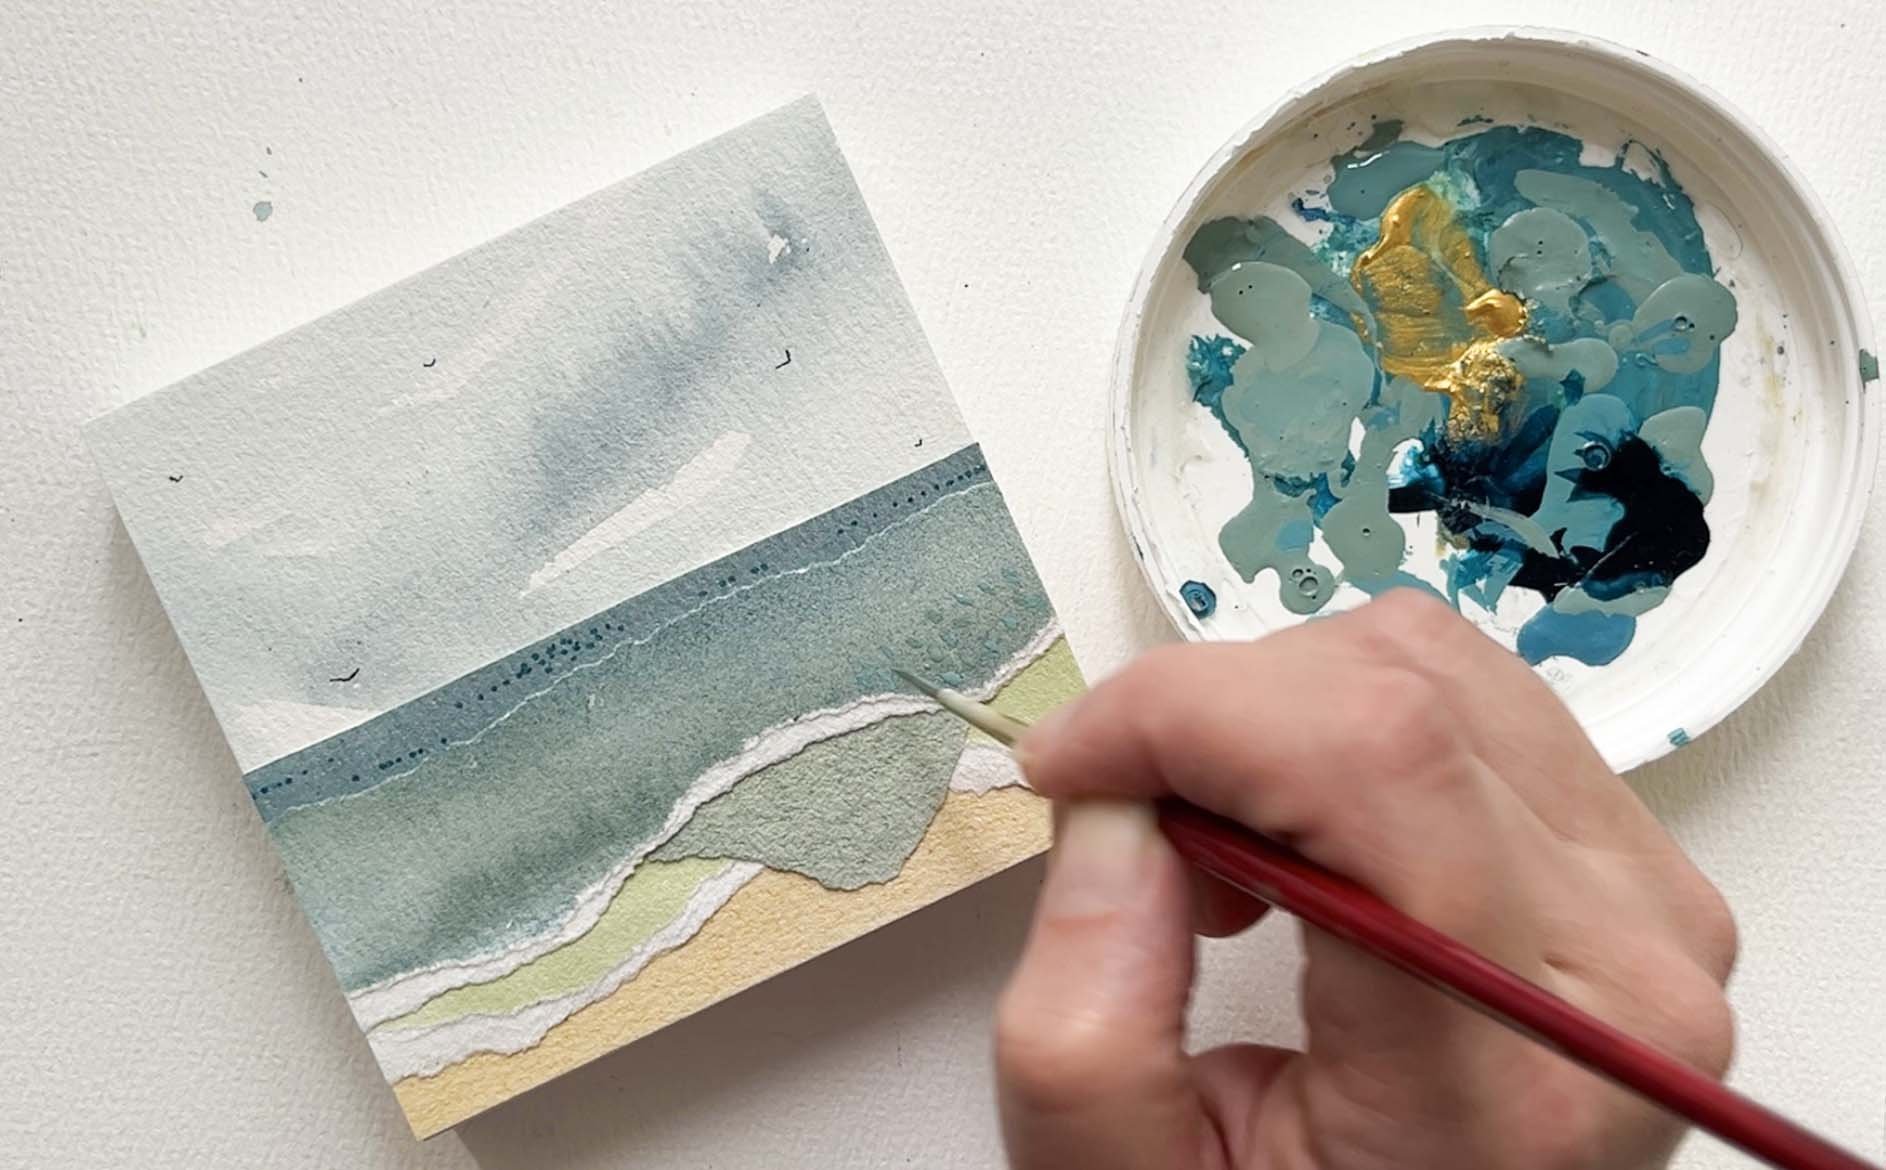
The Thing I Didn’t Know People Wanted
Since mid-July, something shifted. My social media following jumped from 2,000 to over 17,000, and one message started flooding my inbox:
“Do you teach this torn paper collage technique as a workshop?” Honestly? I didn't—mostly because I had no idea so many of you wanted to learn it!
But after reading dozens of requests, I decided to open the doors. The response blew me away: More than 150 people have already joined the fun, and they are making incredible work.
“Thank you so much for this class!! I'm loving learning everything. I have done watercolor before, but adding in the torn paper element has really been a joy.”
-Angie Ochoa, @angie_ochoa_art
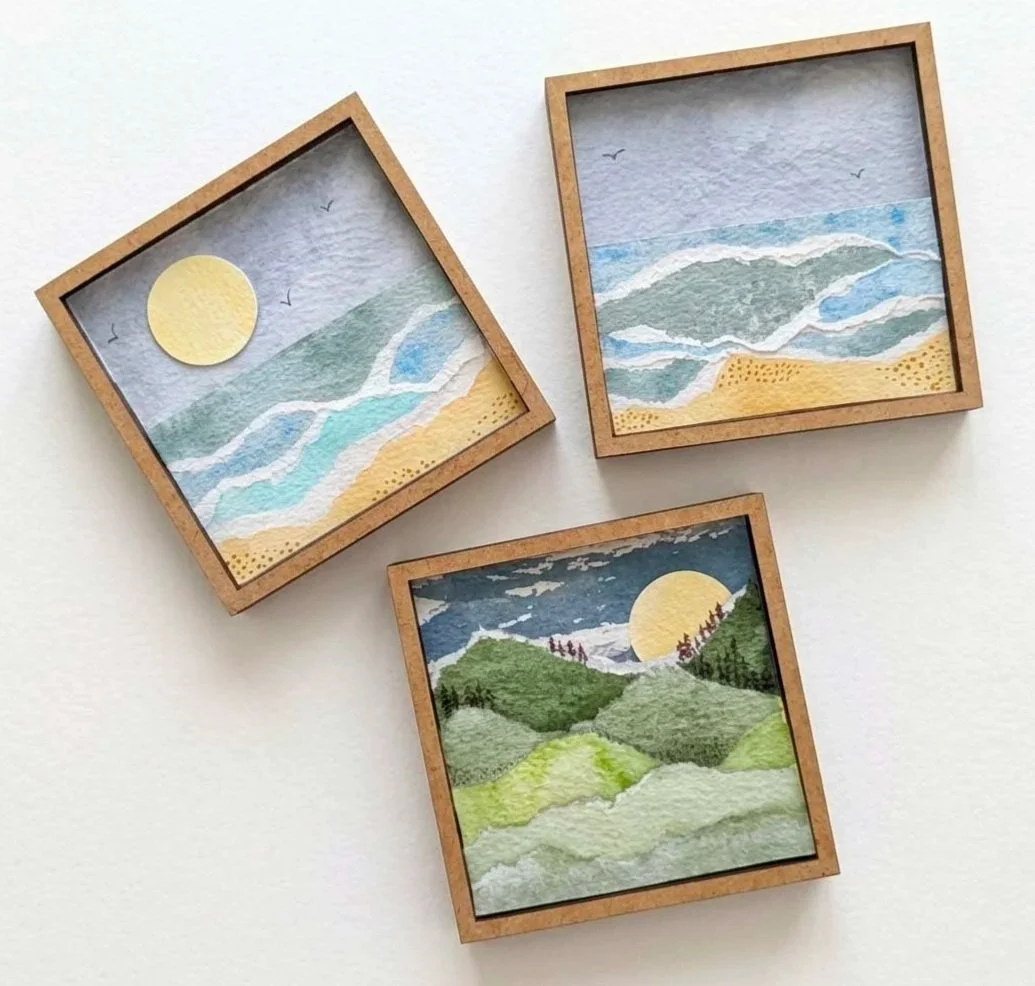
“Obsessed!
I’ve been playing with torn paper collage for a while now-landscapes, greeting cards, etc., and your class gave me new creative ideas and tools to work with. upgrading my supplies, based on your direction, made such a difference in the color and texture quality.”
-Mariann
This isn't about copying my art or following rigid steps. It’s about discovering the pure joy of torn paper collage, experimenting with texture and color, and building the confidence to create pieces that are entirely, uniquely yours.
You Asked, Here’s Every Answer
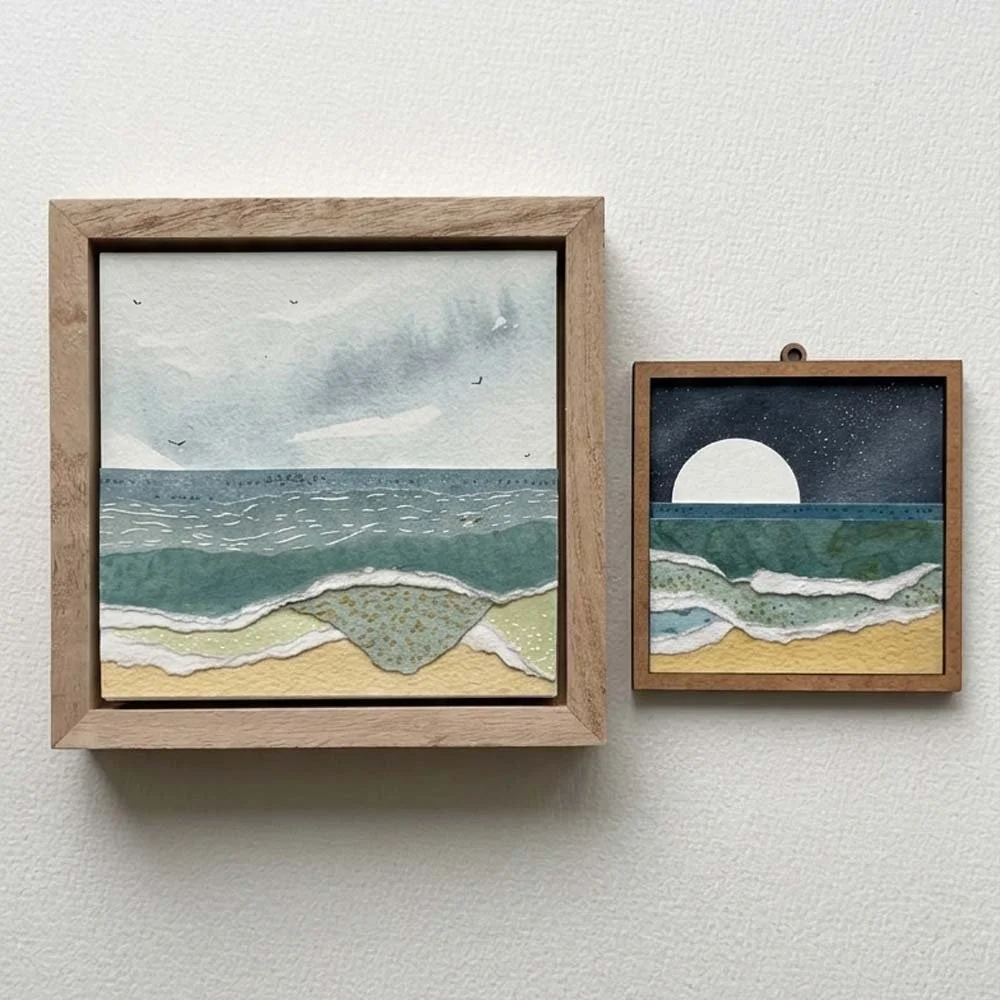
Every time I post one of these pieces, the same questions show up: "What medium do you use? What's that rubber thing? Do you paint your own paper? How do you get those tiny details?"
This workshop answers every single one — start to finish, no guessing.
If you've tried paper art before and ended up with muddy colors, torn edges in the wrong place, or buckled paper after gluing — this class will give you the core techniques to solve those exact problems. You don't need years of training. You just need a clear, foundational process that leaves plenty of room for play.
In this workshop, I walk you through mixing custom color palettes, painting rich background washes, tearing with intention, and creating two finished paper paintings—giving you the foundation to turn a blank sheet into a piece you're proud to frame.
Technique You Can Use Again and Again
Painting bases, custom skies, wet-paint texture, tearing for clean vs. deckled edges, layering, adhesive application without buckling, fine detail work, and framing — the entire process, broken into small, doable steps.
Master Custom Color & Texture Mix rich sky palettes (including a moonlit night sky), custom neutrals, and believable earth tones — then add the tactile depth that makes these pieces feel alive.
Two Guided Projects (Follow Along or Just Watch!) Inside the workshop, I walk you through the full creation of two distinct pieces from start to finish—a 3×3 mini ocean and a slightly larger landscape on cradled wood board.
You can pause the lessons and build your pieces right alongside me, or simply sit back, watch the process unfold, and save the ideas for whenever you feel inspired to create on your own.
Everything You Get When You Enroll Today
5 Modules with 14 Video Lessons, about 90 Minutes of Instruction Bite-sized lessons covering setup, painting, tearing, assembly, detailing, and framing — go at your own pace
Printable Supply List (PDF) Direct links to the exact tools and colors I use, plus budget-friendly substitutes. Remember: you don't need a massive collection of supplies to make beautiful art! I'll show you how to mix custom shades from basic primary colors so you can use what you already have on hand.
Color Wheel and Color Mixing Reference (PDF) See how the color wheel works and how to make browns and greys
Color Palette Cheat Sheet (PDF) Quick reference for mixing skies, custom neutrals, and earth tones without second-guessing yourself
Landscape Composition Cheat Sheet (PDF) A visual guide for arranging torn paper before you commit
Fine Detail Ideas Sheet (PDF) Line work and mark-making examples
2 Complete Guided Projects A 3×3 mini painting and a 4×4 cradled-board piece, built alongside me from first tear to final frame
Lifetime Access Rewatch anytime, at your own pace, whenever you want a refresher
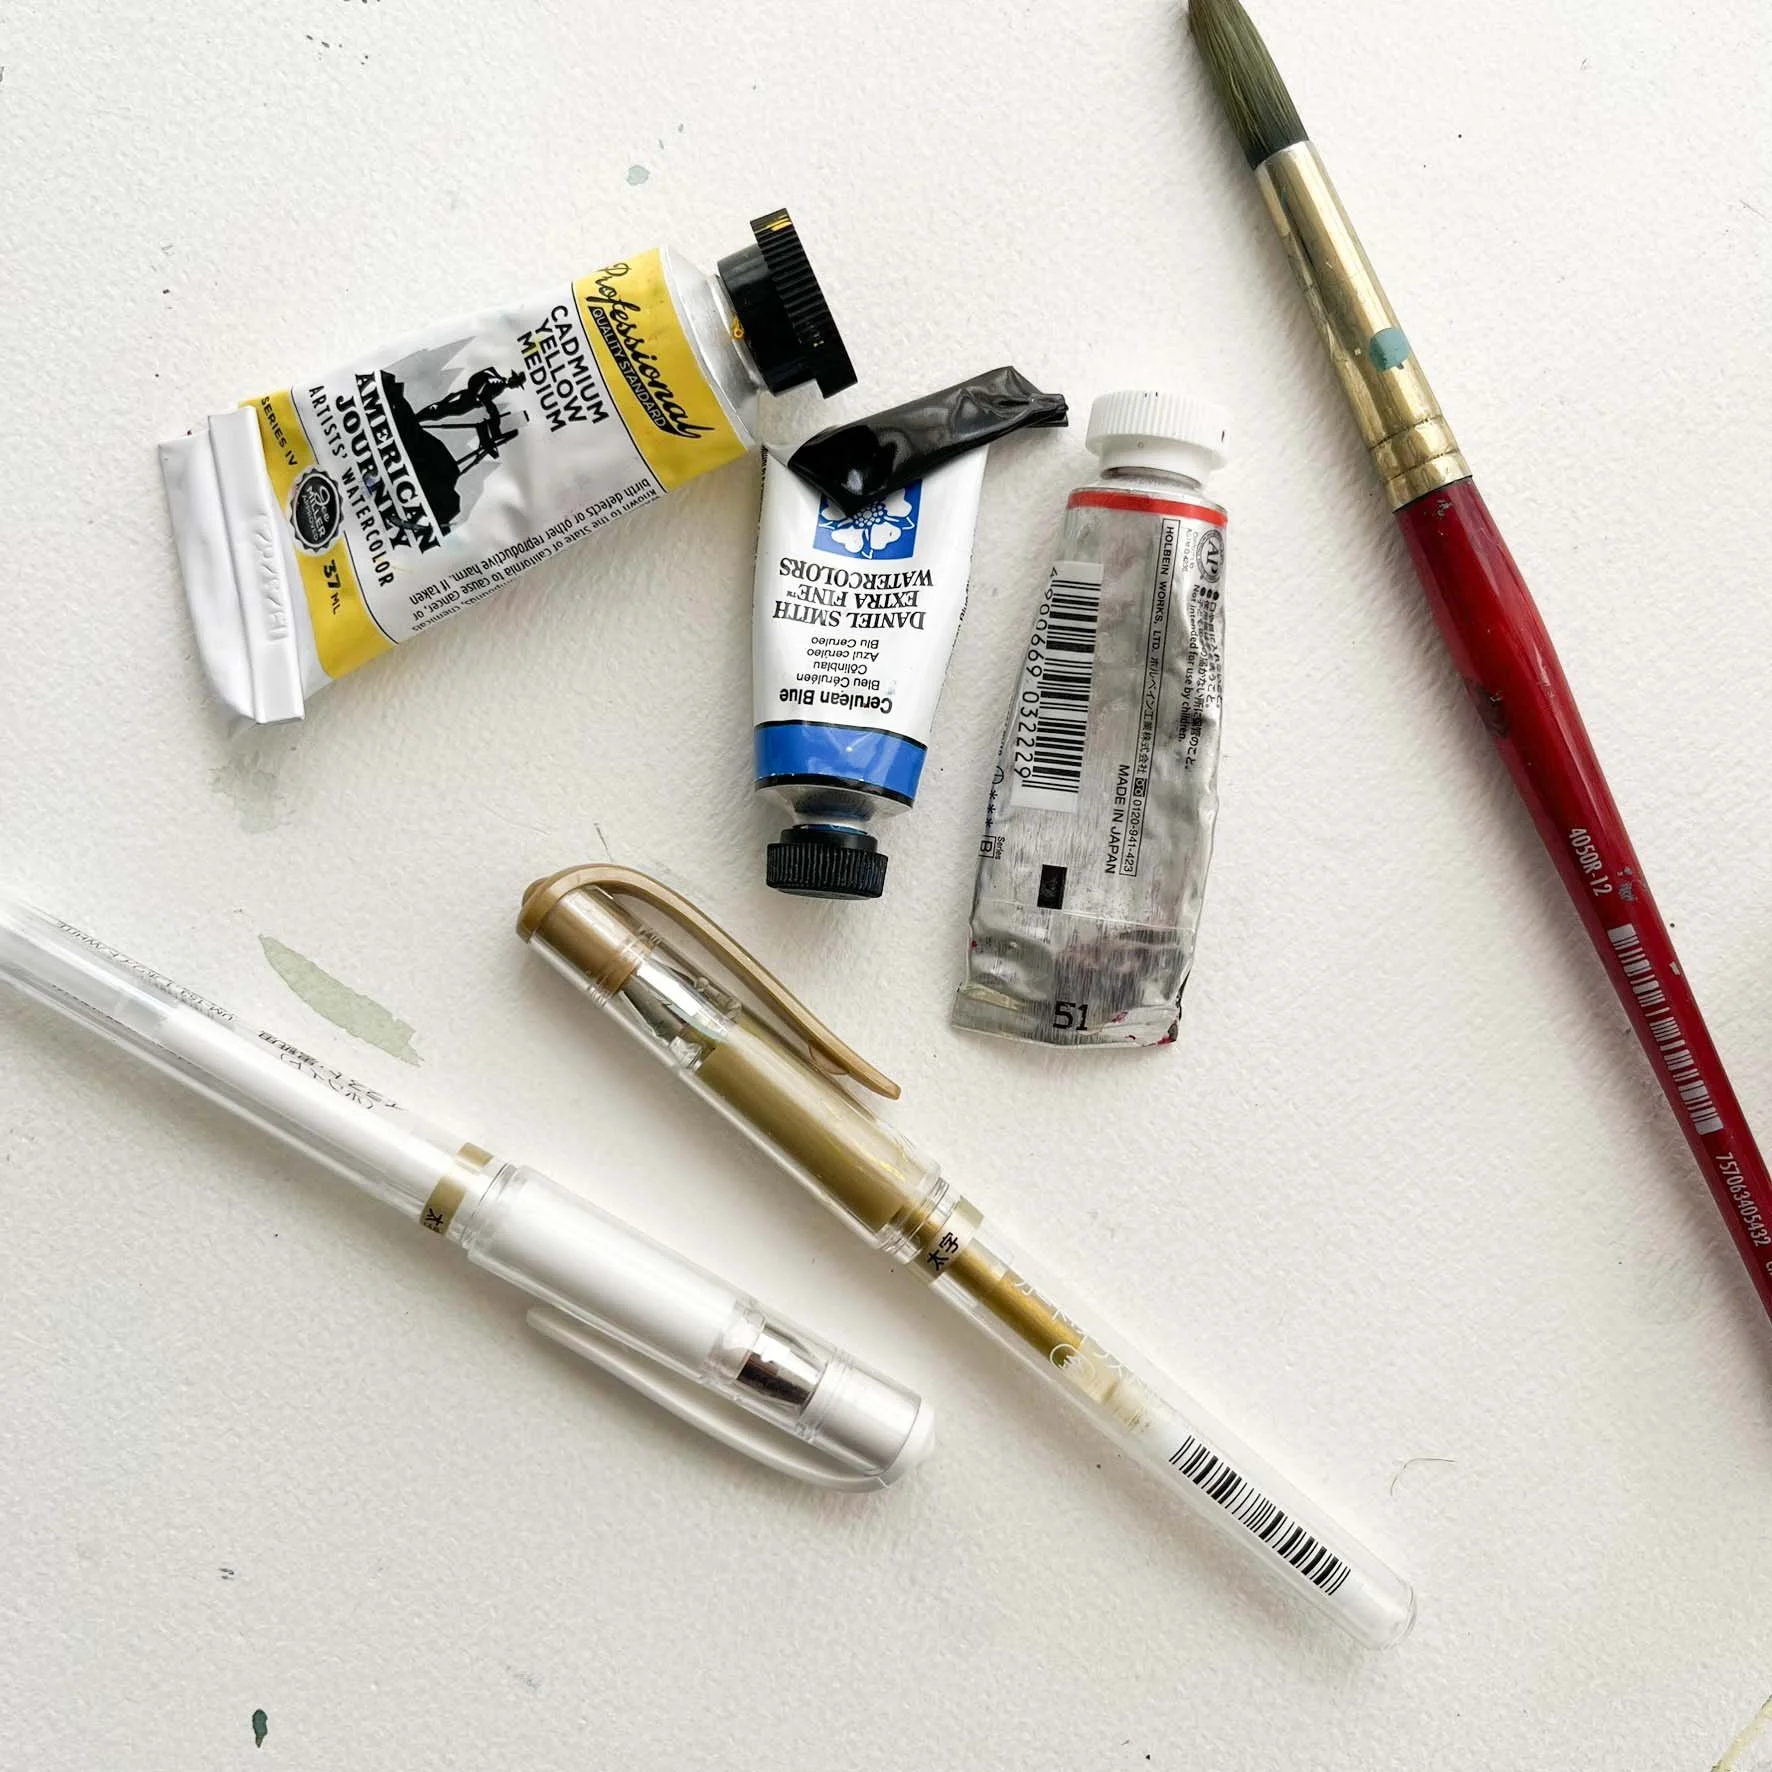
Your questions, answered.
What medium do you actually use? Covered in Module 1 — full breakdown of paints, papers, gel mediums, and tools, with budget-friendly swaps.
What's that rubber roller thing? That's a brayer, and yes, you’ll get a chance to see my use it.
Do you paint your own papers, or buy them pre-made? I paint my own base sheets from scratch — Module 2 walks through five custom sky techniques and adding interesting textures to wet watercolor washes so you can do the same.
How do you get such clean torn edges? Module 3 covers grain direction, tearing for a white deckled edge vs. a clean edge, and how I pre-arrange a piece before any glue touches it.
Does the paper buckle when you glue it down? Not if you do it right — Module 4 shows the exact adhesive process (Liquitex Matte Gel Medium) I use.
How do you add the tiny details? Module 4 also covers fine detail work with markers and pens, and an idea sheet PDF if you get stuck.
How do I frame a finished piece? Module 5 covers mounting minis in shadowboxes, framing larger cradled board pieces, and finishing for lightfastness and permanence.
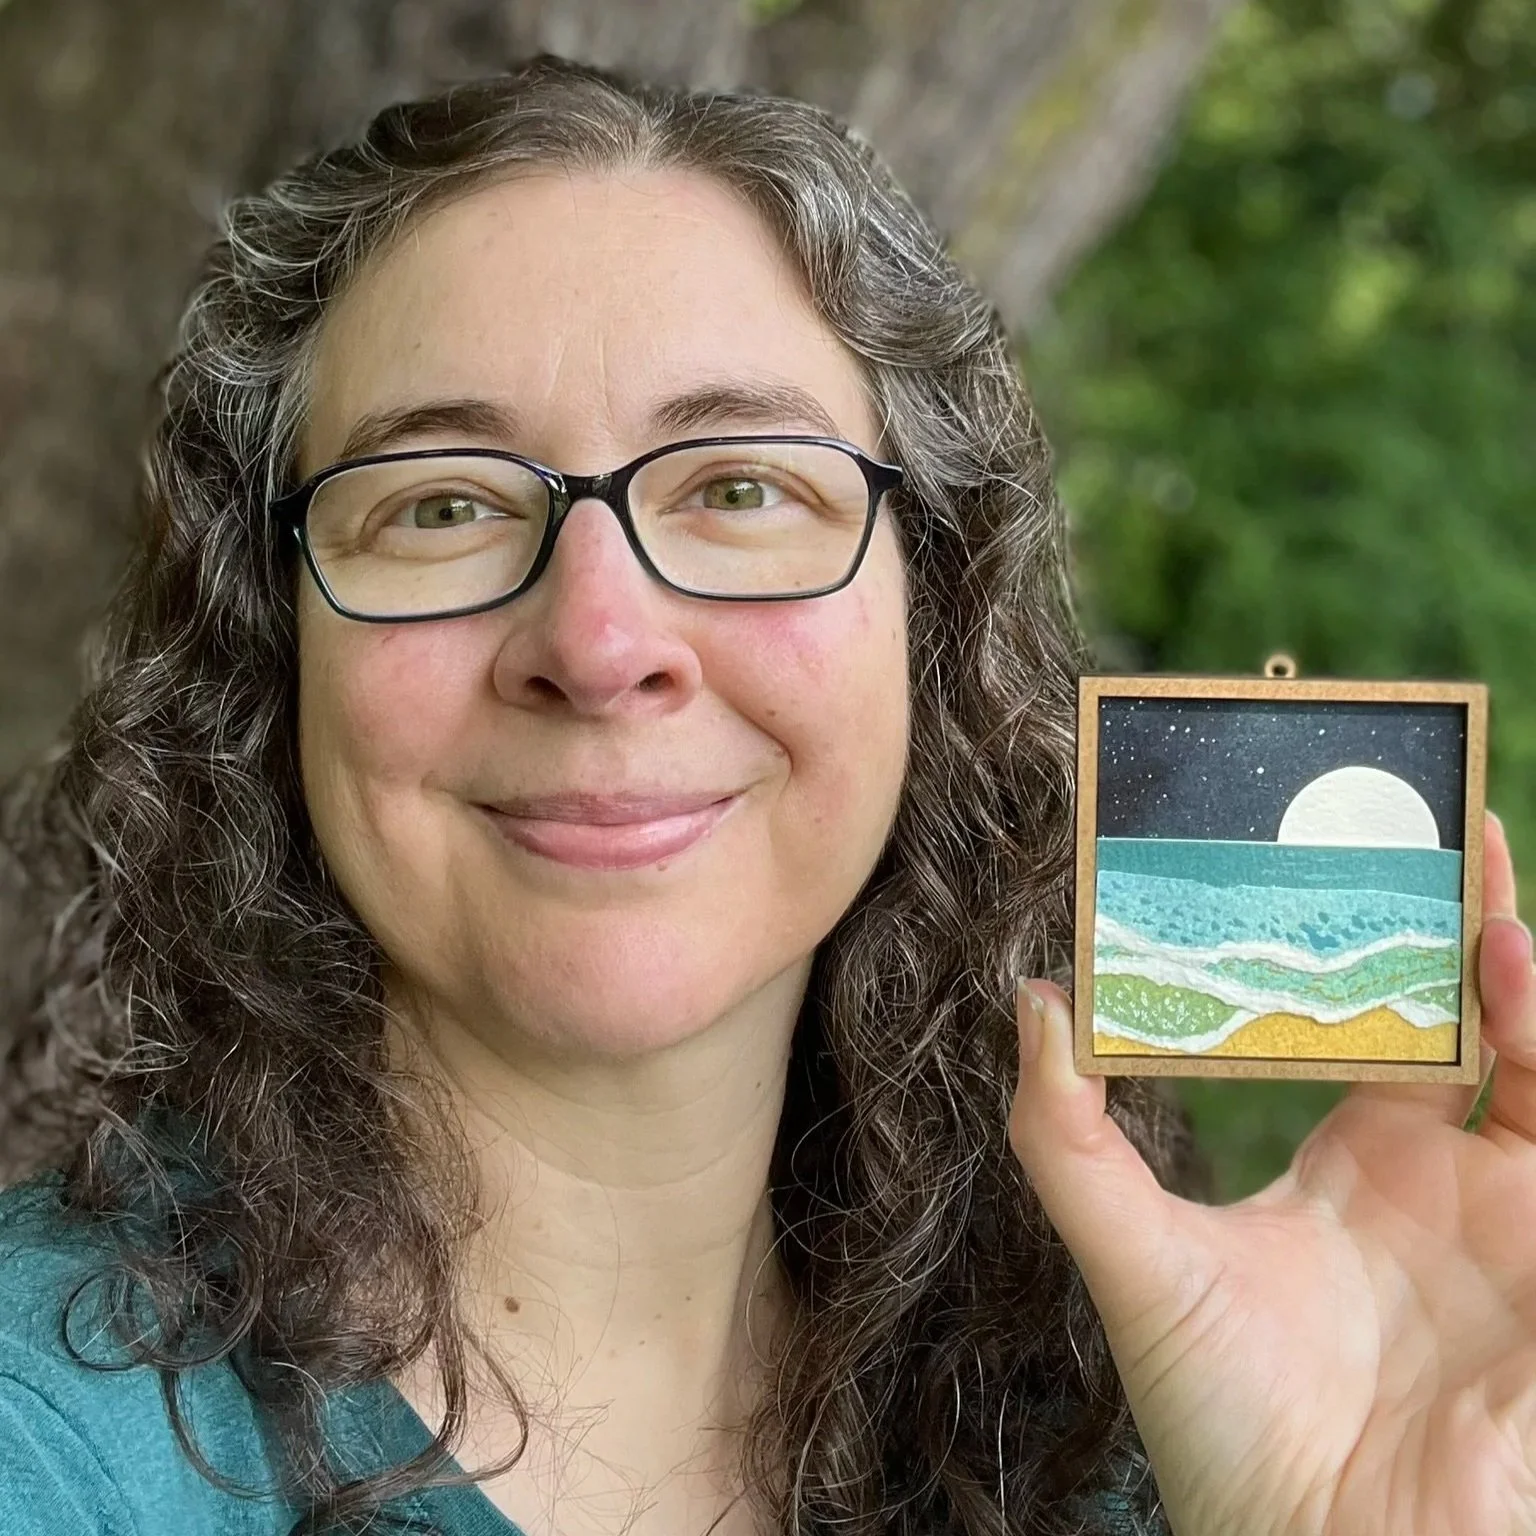
Meet Your Instructor
Hi, I'm Jen! I believe art should feel tactile, joyful, and deeply satisfying—a space where you give yourself permission to play, drop the need for perfection, and simply enjoy the process. I created this workshop to show you my exact foundational process for torn paper landscape painting, giving you the core techniques, color mixing principles, and confidence to make this art form entirely your own.
Before You Enroll
Do I need art experience? No fine art degree required. If you can hold a paintbrush and tear paper, you can do this.
I've never used watercolors before — just acrylic. Will that be a problem? Not at all — I teach a few quick basics, and we're mostly making simple washes that are easy to pick up.
How long do I have access? Lifetime access. Rewatch anytime, at your own pace, whenever you want a refresher.
What do I need to watch it? Any device with internet access — phone, tablet, or computer.
What if it's not for me? If you enroll and it's not the right fit, email me within 7 days for a full refund — no hard feelings.
Master torn paper collage techniques with step-by-step guidance. Get full, instant access to all bite-sized video lessons and learn at your own pace.
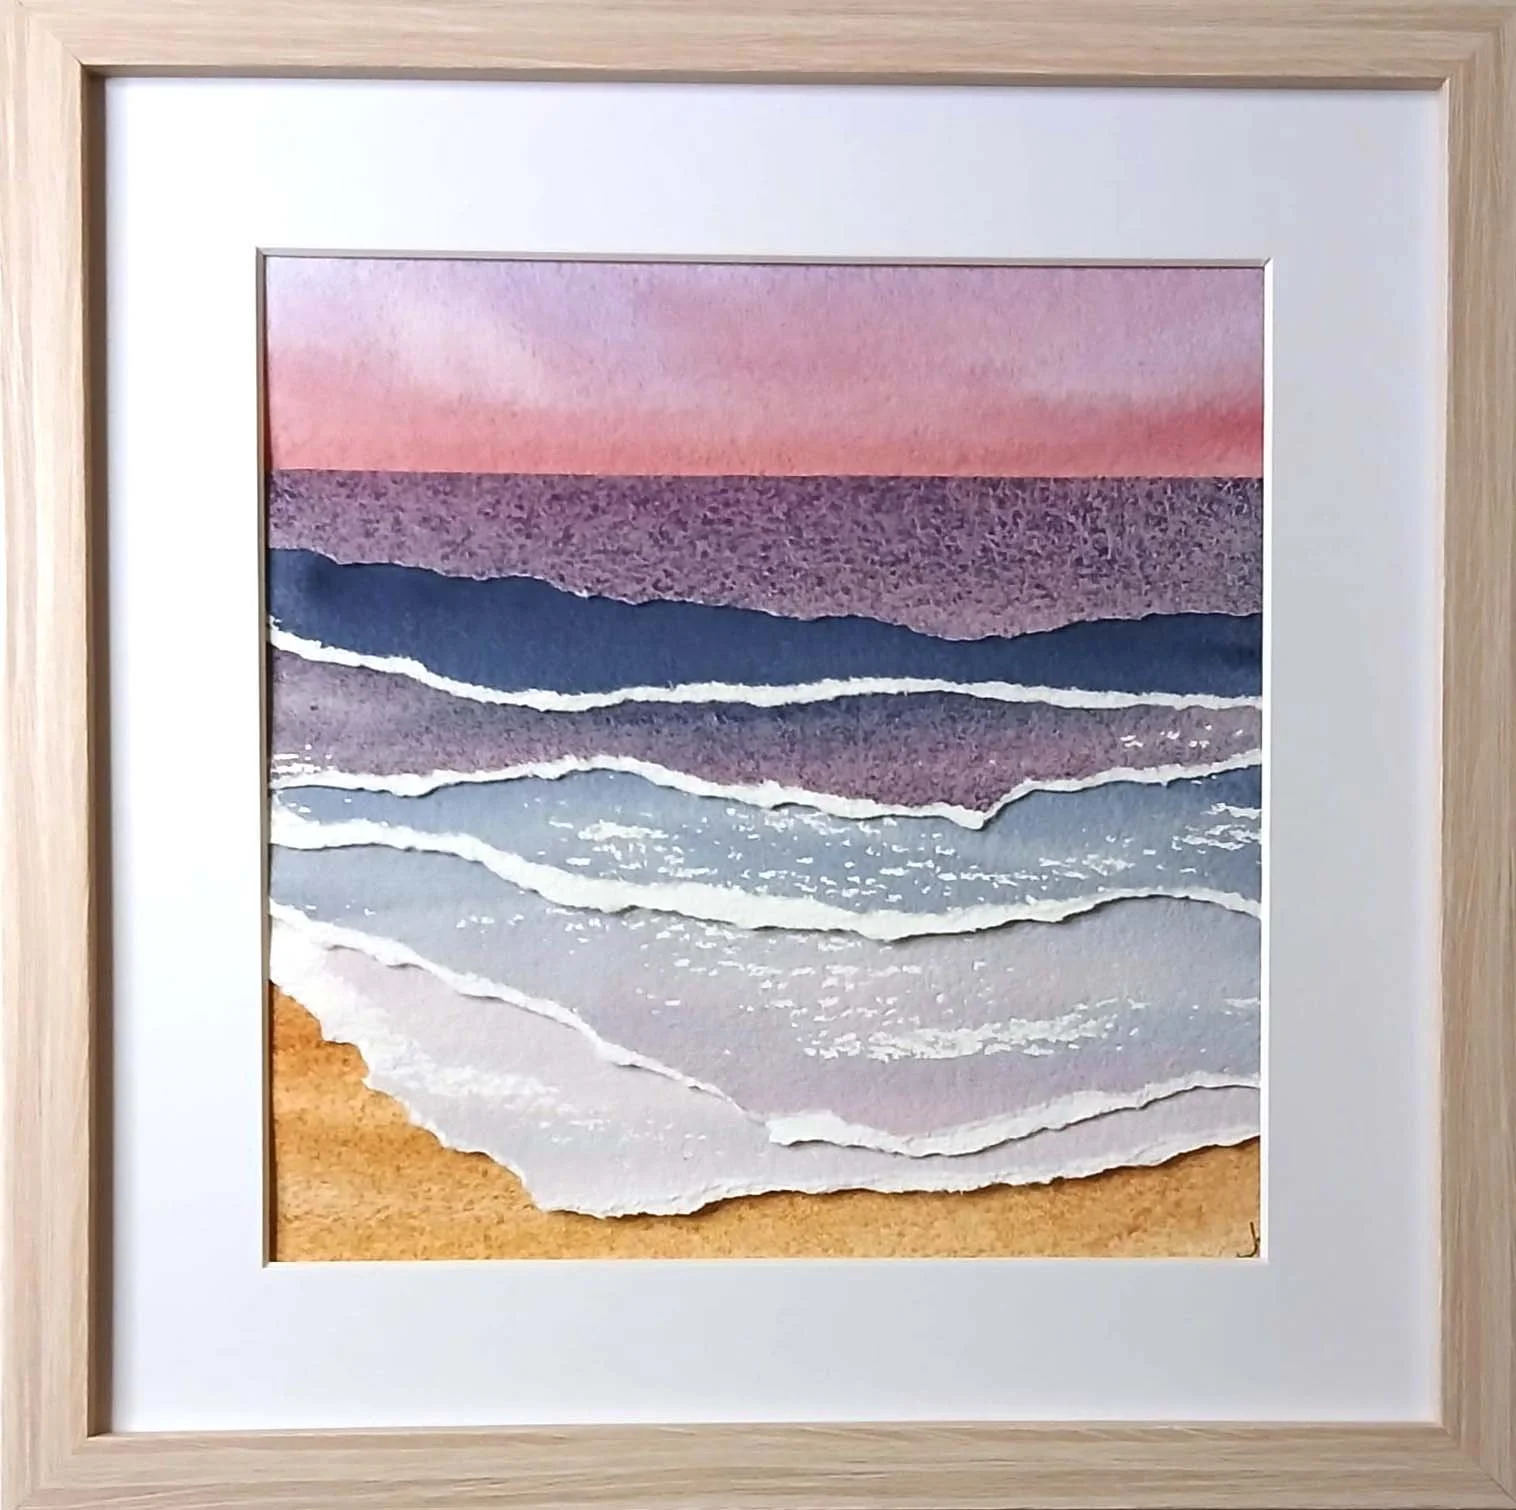
Student work by Joelle, @jah_art.nl/

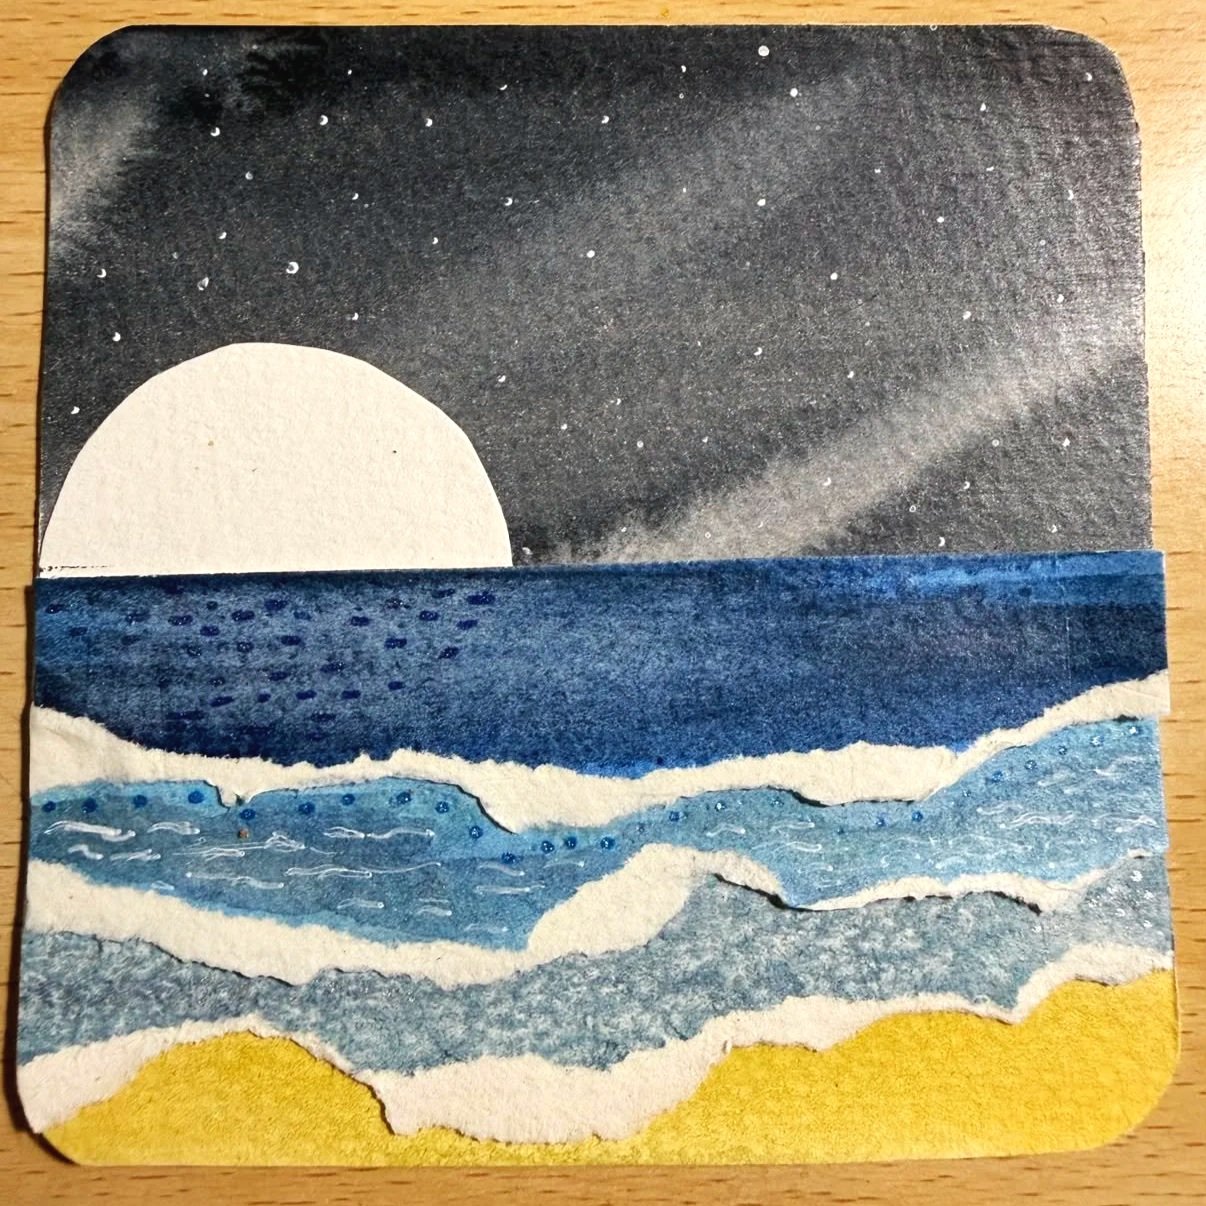
Student work by @floknitz
Torn Paper Collage Landscape Workshop
-
-
Lesson 1: Getting Started & Studio Setup
Welcome! In this quick 2-minute video, I share a bit about my own story, why torn paper art is so special, and a quick roadmap of what we’ll be creating together in this course.
Welcome! In this quick 2-minute video, I share a bit about my own story, why torn paper art is so special, and a quick roadmap of what we’ll be creating together in this course.
-
Lesson 2: Essential Supplies & Material Guide
Everything you’ll need to make your own torn paper collages.
Everything you’ll need to make your own torn paper collages.
-
-
-
Learn the basics of watercolor washes and what brush I use the most.
-
Lesson 2: Color Theory & Mixing
Learn how to mix many colors from the primary colors, which colors look good together, and how to pick a color scheme.
Learn how to mix many colors from the primary colors, which colors look good together, and how to pick a color scheme.
-
Lesson 3: Painting Five Different Watercolor Skies
Here are five types of simple skies you can create for your torn paper landscapes.
Here are five types of simple skies you can create for your torn paper landscapes.
-
Lesson 4: Adding Textures to Wet Paint
Learn how to make textures in wet paint, how to make starry skies, and more.
Learn how to make textures in wet paint, how to make starry skies, and more.
-
-
-
-
-
Lesson 1: Sealing and Protecting
Watercolors are susceptible to fading, here are some suggestions for dealing with that.
Watercolors are susceptible to fading, here are some suggestions for dealing with that.
-
Lesson 2: Framing
Here are several different options for framing your torn watercolor paper landscape.
Here are several different options for framing your torn watercolor paper landscape.
-